One of the requirements for creating images for a retargeting campaign is to build each ad in the most popular display formats. For display ads, there is 160x600, 728x90, 300x250, 320x50, 300x600, and 970x250. For Facebook, there is thankfully just 600x315. However, an effective retargeting campaign needs several image variations for each size, and this is where it starts to become difficult to manage.
This article will show you how to quickly create and manage ad image variations for your retargeting campaign using a great feature of Photoshop called Generate Image Assets.
Generating Image Assets using Layer Groups
When you are creating ads in Photoshop, the final step is to Export for Web. For a single ad, this only takes a few seconds, especially if you know the keyboard shortcut. However, when you have multiple variations, this becomes a much longer process of hiding and showing the right set of layers.
What we need is a way to automatically save all the ads as we make changes, without having to do all this hiding/showing/exporting. Thankfully, there is a way in Photoshop called Generate Image Assets.
This feature can be set up in 2 quick steps:
- Create layer groups named like filenames with the appropriate image extension (jpg, gif, png)
- Enable Generate Image Assets in the File Menu
From then on, each time you make a change, the layer group will be automatically exported in your chosen image format to a folder on your hard drive.
You can also add an output quality to the end to help reduce file sizes, such as "filename.jpg50%" which would set the jpg output quality to 50%. This can be very useful when producing ad images for platforms with maximum upload sizes.
Step-by-Step Example
Let's create an ad and variations step-by-step to see the process:
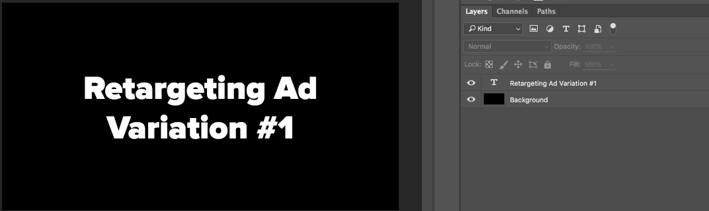
1. Create The First Ad
Create your first ad using a background and some ad copy like this:
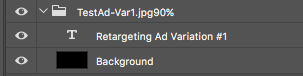
2. Create a Named Group
Select the two layers and click the group button at the bottom. Then rename your group like this - "TestAd-Var1.jpg90%".
Now choose File -> Generate -> Image Assets. Nothing really happens visually, but if you look at the menu item again, you will see that it has a checkmark next to Image Assets.
Go to Finder or Windows explorer. Since you haven't yet saved and named your PSD file, you will see a new folder on your Desktop called Untitled-assets. Inside that folder, you will see your new "TestAd-Var1.jpg" file.
3. Create Variations
Back in Photoshop, duplicate the layer group. Don't rename it yet, so that the current name is "TestAd-Var1.jpg90% copy". This will showcase what happens when you don't have a valid filename for a group.
Go back to Finder/Windows Explorer and look inside the -assets folder. You should see a new file called "errors.txt" containing something like:
[10/11/2016, 5:33:31 PM] layer "TestAd-Var1.jpg90% copy": Expected end of input but "c" found.
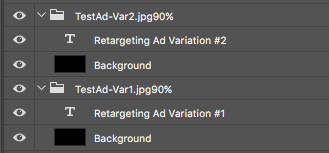
This means Photoshop was trying to figure out the file name, but found the unexpected "copy" at the end. Go back and rename the folder group to "TestAd-Var2.jpg90%":
If you look in the assets folder, you will see that nothing has changed - there is still an "errors.txt" file and no second image. That is because you need to tell Photoshop to regenerate the changes. The easiest way to do this is to save your PSD file.
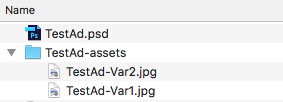
Save your PSD, calling it "TestAd.psd". Notice that as soon as you save it, the assets folder on the Desktop disappears and a new assets folder is created in the same folder as the psd. You should also see both image files in there now.
Edit the text of the second ad variation to say #2 and save again. You will notice that just that layer's generated image is updated.
You can duplicate, edit, and rename layer groups to create additional variations, and they will all get saved, regardless of whether the layer group is "visible" or not. This will save an immense amount of time as the number of variations grows.
A Few Caveats
Despite how useful this methodology is, there are a few issues that you may need to deal with.
Every Layer Group Must Be Self-Contained
One slightly annoying issue with this methodology is that each layer group must be self-contained. That means that EVERYTHING that you want to be in the image must be inside that group.
This constraint can often mean some duplication, such as having your logo or other common pieces of your ads copied into each group. Be sure to verify that your generated ad images have everything you expect them to.
Sometimes Photoshop Doesn't Respect Your Boundaries
If you have portions of your ad variations that extend beyond the canvas area, your expectation would be that they would be cropped out. And, this is true most of the time. However, from time to time, I have seen Photoshop fail to respect this size and create generated images that match the extra room.
The fix that has always seemed to work in this case is to create a quick layer mask on each layer group that is the size of the canvas. This guarantees that the size of the generate image will be what you expect.
In my next post, I will go over how to generate the names and trackable URLs for all of your ad image variations to enable easy tracking and analysis.