
on Jul 27, 2018
After putting all that effort into writing a great blog post, wouldn't it be nice if you could publish a video based on that same content? Video can dramatically increase reach and exposure, generating 1,200% more shares than text and images combined, so being able to quickly and easily create good quality videos is critical. But, how can you fit building these videos into your team's already busy schedule?
This is the third in my series of posts about using different tools (Lumen5, Content Samurai, Adobe Spark) to create a video based on a blog post. For each tool, I will document the time, process, and cost associated with it, as well as showcase the videos themselves.
The tool I am working with in this post is Adobe Spark, which offers a simple interface and a large library of content to work with.
Let's get to it.
Using Adobe Spark To Create My Videos
Adobe Spark is free and works both on the web and on an iPad, which means that you can create your videos anywhere. It is designed around storytelling using prompted templates.
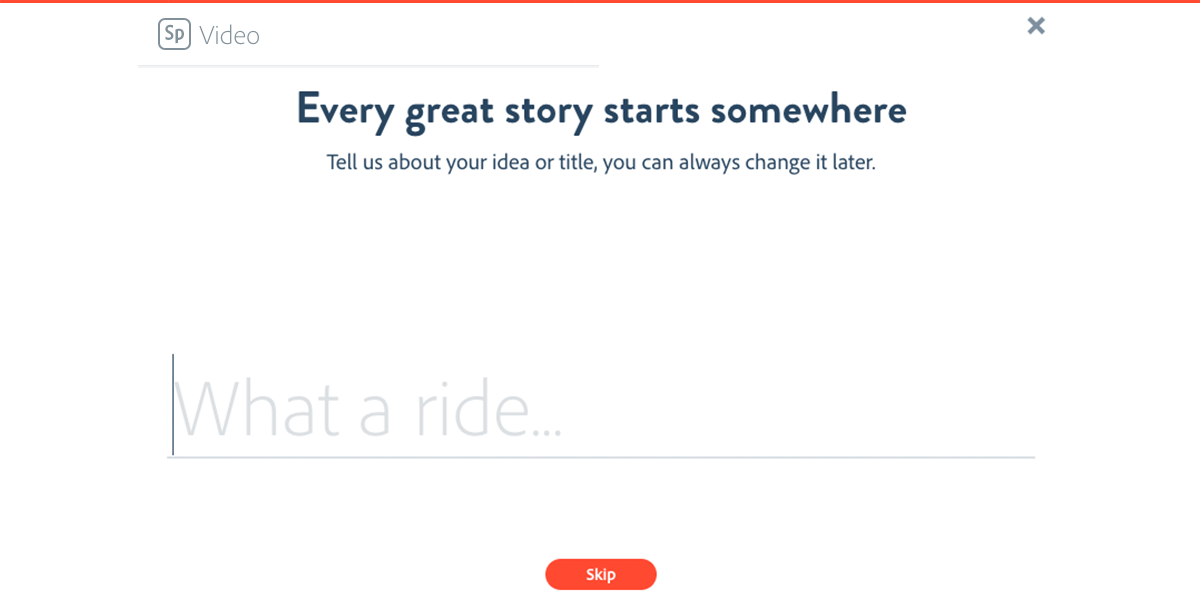
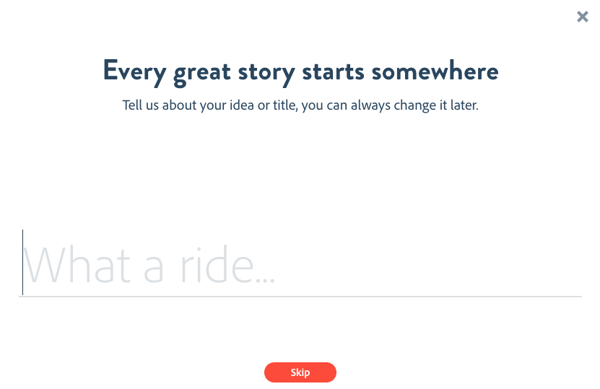
You start out by giving your project a title:
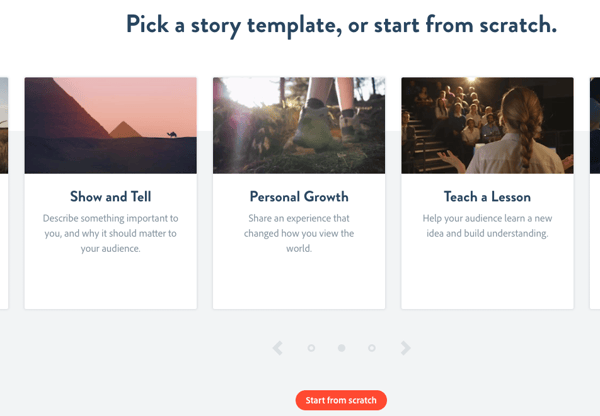
Next up, you choose a template for the project as a whole.
Selecting the Template
Adobe Spark presents a visual list of 10 or so templates. Each template has a purpose (Tell a Story, A Heroes Journey, Teach a Lesson, etc.) and comes with a set of transitions that cannot be modified. Also, once you pick a template for your project, you cannot change it.
Choosing one of these templates will move on to the editor view, where you will see that template's storyboard laid out, each slide with a textual hint for what it is about.

While this might be great for a personal video, it doesn't really fit our purpose for a blog. Thankfully, there is a way to skip the template entirely and start with a blank project (has 1 blank slide, credits slide, outro slide, and uses the default transition).
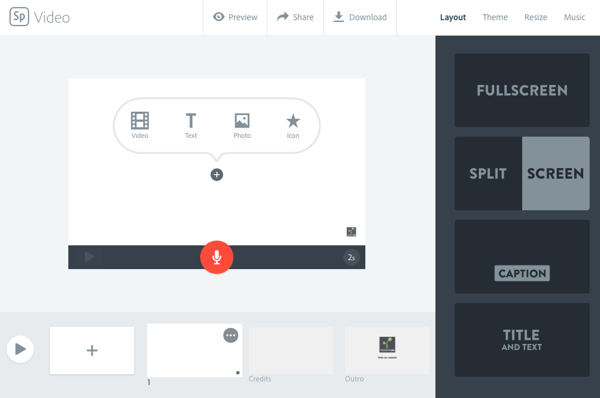
Building the Slides
Adding the Text
This is the part that is a bit grueling - you have to manually input your storyboard one slide at a time. You do this by clicking a slide, clicking the Text button, pasting in your slide content (leaving the formatting for later), and then clicking the plus sign on the left to add a new slide. Then repeat over and over. This took about 5 minutes for my 18 slides.
With all the text entered, it is time to pick a layout, pick a theme, and format the text.
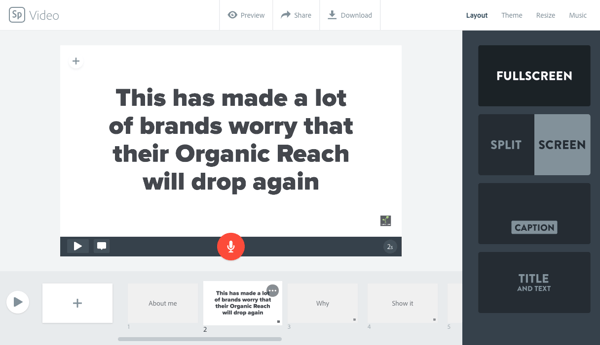
Selecting the Layout
Each slide can have its own layout, selected on the sidebar. There are 4 types which can be switched between at any time:
- Fullscreen - a bolded block of text that can be dragged into one of the 9 positions
- Splitscreen - one side holds the background image and the other the text. The text side content is bold and can be dragged into the 9 positions.
- Caption - text is normal weight and fixed slightly below center. It cannot be moved.
- Title and Text - enables 2 text blocks, right above each other. The top block is bold and the bottom block is normal. The combined blocks can still be dragged into the 9 positions.
Here is where I realized how spoiled I was by the other two "smart" tools I had used before. Both Lumen5 and Content Samurai let me format the text to have some words in a different color (highlight or bold) and offer quote or italic format. Adobe Spark allows no formatting at all beyond the layout types. This was a big disappointment after seeing how much more engaging the highlights were.
The font also feels very "big" on the slide. It scales somewhat as you add more text to it, but I wish you could resize it just as you like it. However, none of the other tools let you manually resize the text either.
There isn't any easy merging or splitting of slides. You just have to create a new slide manually and paste in the content or manually delete them.
At this point, I decided that I should just work on picking the backgrounds first, and then move the text around. But, first I needed to set the theme.
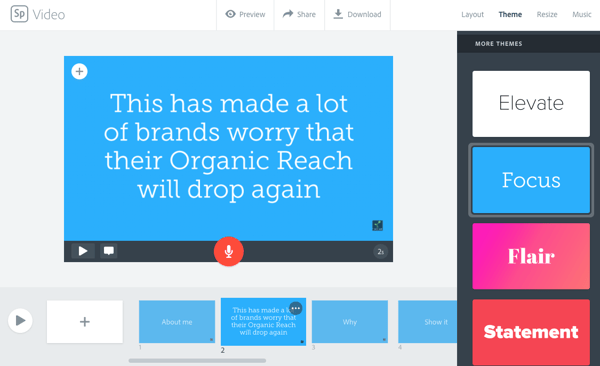
Selecting the Theme
Adobe Spark offers several themes, which consist of a background color and font style and weight. The theme applies to all slides, unfortunately. You can replace the theme background color with an image or video if you like.
Selecting the Background
Using Photos in Slides
Here again, I missed the AI of the other two tools. Each of them automatically started you off with an image on each slide, picked from keywords in the text. In Adobe Spark, everything was blank and up to me to fill in.
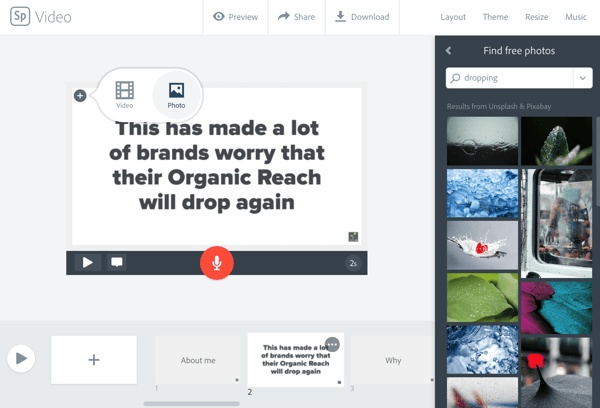
By clicking the + to add media, and then choosing Photos, you are given a choice of where to find some images. "Find free photos" uses a Creative Commons search on Unsplash and Picabay. You can also import purchased images from Adobe Stock, or owned images from Creative Cloud, Dropbox, Google Photos, or your own computer. If you choose a free photo or one from Adobe Stock, an acknowledgement will be automatically added to the Credits slide.

Trying to find the right image was similar to the other tools - searching for images that match keywords is hit or miss. For example, trying to find something to match dropping or falling produces images of raindrops:
Also, like the other tools, you can't easily reselect the same image used elsewhere. You have to re-find it each time.
Using Video In Slides
Adobe Spark has only one option for video - uploading your own. You can then choose to use it as a motion background or skip adding any text and have it be the whole slide.
Once you select a video, you have the option to trim it if it is longer than the slide timing. After selecting the clip length, the slide timing will adjust to that and you cannot change it without replacing the video entirely.
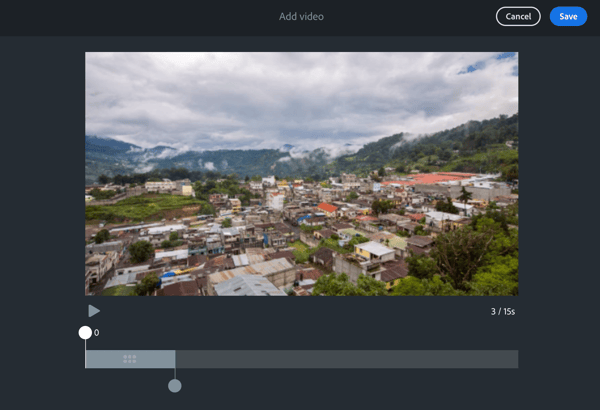
One good thing about Adobe Spark's handling of video is that it supports preview immediately, unlike Lumen5 and Content Samurai that only render video at the end. That enables you to best position text and get a feel for the whole video's impact while editing.
Slides with video backgrounds still support all the various layouts, which is nice.
Adjusting the Timing
The automated tools, like Content Samurai and Lumen5, set slide length based on the content, but here you will need to do a constant set of preview and adjust to see how long each slide should take.
Adobe Spark defaults each slide to 2 seconds, but this feels way too fast in general. Try to set each slide to at least 3 seconds, and up to 5 if there is a lot of text.
As I mentioned above, slides with video are set to the length you choose when adding them and cannot be changed without replacing the video. So, make sure you have an idea of how long to give it before you upload the video.
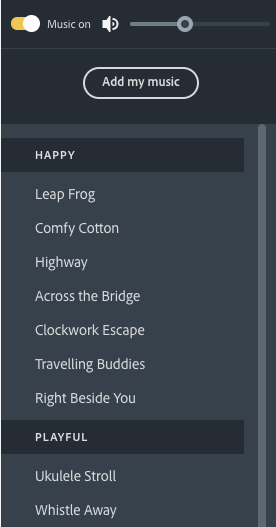
Adding Music and Voice
Adobe Spark has a library of 30 or so songs that are free to use, and they don't seem to require any credit. They are nicely grouped by mood, so it is easy to find what you are looking for. You can also upload your own .mp3 instead.
To add a voiceover, you can click and hold the microphone button on any slide and it records from the default microphone. You can record over it as many times as you like. It shows a recording time indicator, and if this is longer than the slide timing, the timing increases to match the voice recording. The quality was pretty good and being able to record a single slide right from the editor was nice.
I can see this being useful if you just wanted to do a few slides, but for more of them, Content Samurai's guided technique seems better.
Here is the end result:
Time to create: 46 minutes (+ 10 minutes for initial storyboard)
How much I like it: 3/5
Final Thoughts
Overall, I found Adobe Spark to be a pretty good option, but a lot more work. It took me much longer, partly because I had to create the slides one at a time, and partly because I spent time looking for text formatting options that weren't there. I think my time would drop to 30 minutes total if I had to do another one, which is still acceptable.
I definitely wished for more control and was a bit spoiled by the lack of help. On the other hand, the program is free and works on the web and iPad, which might make me a bit more likely to build them.
Pros:
- Very simple and easy to use UI that doesn't let you get bogged down in the details
- Good image library with a lot of options
- Easy to reposition background images and text
- Per-slide voice-over recording
- Multiple slide layouts, like split screen
- Can live preview video after adding to slides
- Free
Cons:
- No text formatting
- No AI to help pick images
- Have to build each slide one at a time - no importing storyboard or blog
- Can't easily find or reuse previous media selections
- Can't minutely control layout and animations beyond basics
- No built-in videos or motion backgrounds
Topics: Social Strategy and Tactics