
on Jul 19, 2018
After putting all that effort into writing a great blog post, wouldn't it be nice if you could publish a video based on that same content? Video can dramatically increase reach and exposure, generating 1,200% more shares than text and images combined, so being able to quickly and easily create good quality videos is critical. But, how can you fit building these videos into your team's already busy schedule?
In my next series of posts, I will use several different tools (Lumen5, Content Samurai, Adobe Spark) to create a video based on a blog post I published in the past. For each tool, I will document the time, process, and cost associated with it, as well as showcase the videos themselves.
The first tool I will use is Lumen5, which uses AI and a simple interface to enable you to quickly build videos with minimal effort. Let's get to it.
First Build a storyboard
Regardless of which tool you end up using, the first thing to do is define the key points you want the video to cover. This will be essential for the more manual tools and will help refine the content for the automatic ones.A note about timing
Getting the video timing right can be hard - you want the total length to be somewhere between 1 and 1.5 minutes, but you need to also give the viewers time to read and digest each key point. So, if you break your video down into scenes, each one needs to be a minimum of 5 seconds. For a one minute video that is 12 scenes, and just 18 scenes for 1.5-minute videos. That also includes intro and outro scenes.Focus on the key points
With such a small number of scenes available, you need to pare your content down to the essentials. The easiest way to do this is to build an outline of your post using the headlines, subheadings, and bullets. Grab any facts or quotes that you feel are essential to support your points.Build a story
Now, group the content together and start to build a story flow. Start with the problem and support it with stats, examples, and quotes. Then explain how to deal with it, again with supports. Remove anything that isn't essential to that story. Then see how many scenes it takes up. Try to pare it down again to fit within 12 or 18 scenes. Ensure that each scene has at most 1-2 short sentences worth of text, preferably less than 25 words total.Think about Style
Once you have your storyboard, it is time to decide on what it might look like. Will you follow your company's brand guidelines, maybe borrowing from the official PowerPoint deck template styles? Or perhaps, it will be very visual, using b-roll or stock photos. It could even be simple overlays on videos of you reading the outline out loud.
Obviously, the actual style depends on the tool you use, but having an idea ahead of time will make it go much faster.
My Example Blog Post Conversion
I will be trying to convert a previous post I wrote called The End of Organic Reach and What To Do About it. Here is the storyboard I created for it, where each blank line separates the scenes. I have 18 scenes, so my video will be 1.5 minutes long.
Intro - The End of Organic Reach and What to Do About it
In January, Facebook announced another big change to the News Feed
It now prioritizes posts from Friends & Family over Pages
This has made a lot of brands worry that their Organic Reach will drop again
Competition for views will increase.
Facebook can only show about 300 stories per day out of a pool of more than 1,500.
So, as more and more Facebook Pages publish content, it becomes less likely that your post will be shown.
And with the new change, the number of potential Page stories is even lower
So, what can you DO?
1. Focus on Quality
Create content that people actually want to engage with.
Start conversations
2. Build a Community
Cultivate Fans who actually are excited to see and interact with your posts
This will drive organic reach AND increase paid performance.
3. Use Influencers
Content published by influencers can get 5X to 10X more engagement, and may end up showing up more often in News Feed
4. Use Paid Promotion
Custom audiences let you target interests, employers, and actions.
Show the right content to the right people.
Show content sequentially to users based on what they have already seen or engaged with.
Outro - Need help navigating this new change?
Connect with us at thoughtlabs.com
Using Lumen5 To Create My Videos
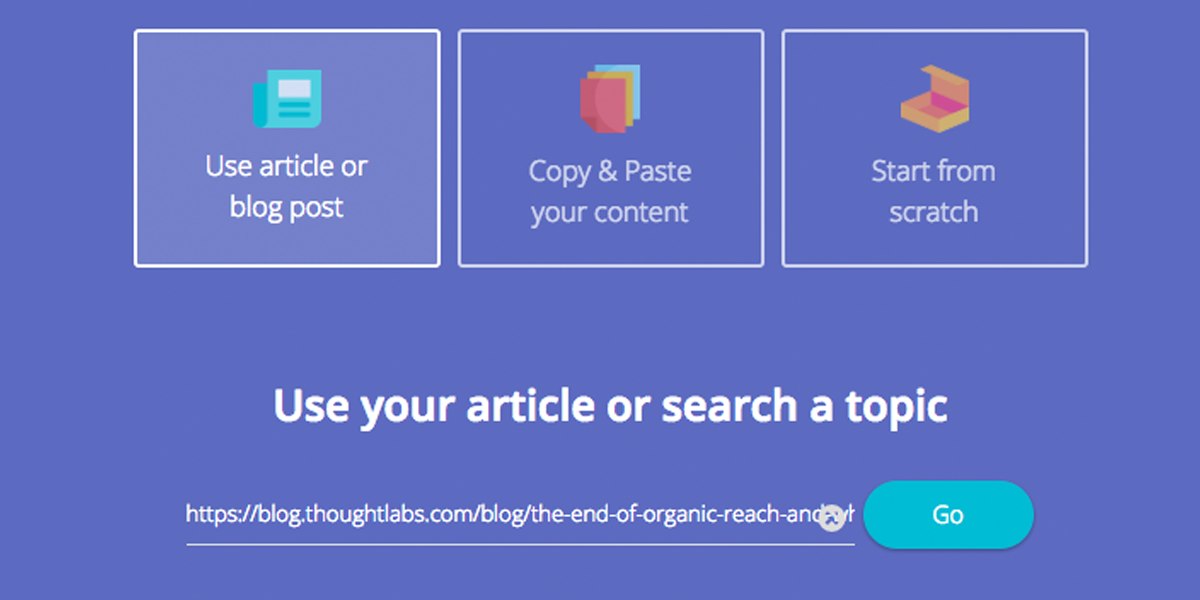
Lumen5 is a popular tool, mainly because of its simplicity. You can hook up the RSS feed for your blog and it will automatically import posts and build videos from them using its AI. You can also paste in a link instead of a feed or even paste in your plain storyboard.
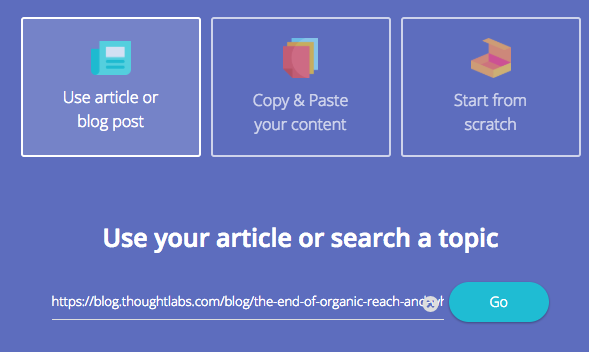
Option 1 - Automatic Creation via RSS
When I opened up Lumen5, it had already created an Instant Video for me for this particular blog post. (Long ago, I had set it up to pull in our blog's RSS feed.) Clicking on the video opened up the editor, with scene text and backgrounds already set up based on its AI. All I needed to do was add some free music and make any final tweaks. I left it as for now, so you could see what it created.
I think that the video Lumen5 created automatically is just ok. It did a good job of finding some key points to put in there, although they don't exactly match my outline. The images it chose are a little strange - I don't think that they really match or are very appealing. However, it is nice that they add a Ken Burns effect to the images so that everything feels like it is moving.
This is the better than nothing option, but not that great. Of course, with some tweaking, it might be a bit better.
Time to create: 1 minute
How much I like it: 1/5
Option 2 - Pull in a Blog Post via URL
Going back to the main screen, I put in the blog URL and now I get the editor with just the title scene created:
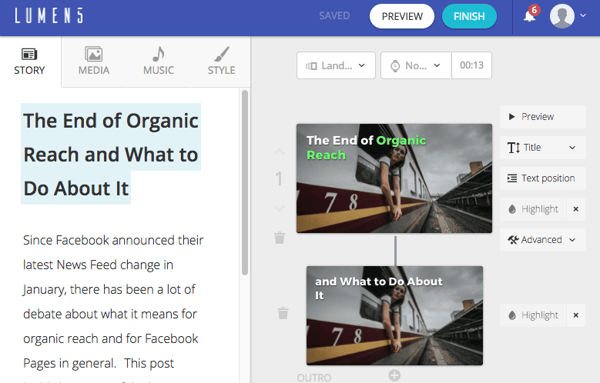
The interface is pretty simple and so is the process.
Inserting Text
Click text on the left to create a new scene with that text. If the text is long, Lumen5 will split it into 2 scenes, but you can hit backspace to put them both on one. Don't bother adjusting the text position and attributes until you have chosen the media. Note: you can only have one text block per scene.
You can also add your own scenes directly instead of clicking on your blog text by clicking the + in between scenes, which is nice for adding title slides or additional info.
Adjust the Background Media
Lumen5 will pick a background based on the text content, which is nice, but most times, I didn't like what it picked. But, it is easy to go to the media tab and search for something else. They have lots of images, videos, and icons to insert, and the search is pretty good. However, the actual content is again just ok.
It isn't possible to see what you have already included in other scenes and it can also be hard to find images or videos that go with each other. You do have the option to upload your own media, but that feels like it somehow defeats the purpose of a simple tool.
Update the Text Attributes
Lumen5 has automatically positioned the text based on the image. You can choose other positions around the frame and also set it as a Title or Quote. You can also select some of the text and highlight it, which is a nice feature. If you change the background media, you will need to redo the positioning, but the text type and highlighting will be preserved.
Add the CTA
You can upload an image or logo to the final slide and then add a short CTA. This is a very simple scene layout with no options, so it is easy to just fill it out and move on.
Finally, Add the Music
Lumen5 has a pretty large music library, categorized by mood and style. You can preview each piece and then select it as the option. I haven't tested what happens for movies that are longer than the song, but likely that won't happen often.
The end result of this process is slightly better overall. The text flow makes more sense after editing it, and the images are better: However, I ended up feeling like the blog text copied over wasn't the best set of content and wanted to start to add more of my own manual scenes. However, if I were going to do that, then I might as well just use my storyboard, which I did next.
Time to create: 19 minutes
How much I like it: 2/5
OPTION 3 - Use a Storyboard
Going back to the starting page, this time I selected "Copy & Past your content" and then pasted in my storyboard. The formatting I had used with blank lines in between the scenes worked well with Lumen5's system, enabling me to just click through each group of text and generate the scenes. Then I took a second pass through to merge any blocks that I didn't want to have split up.
Next, I set about choosing the media. Sadly, I couldn't find some of the media I had chosen in the previous video and ended up having to choose new ones. I also decided to use the same background for the step title scenes, which worked well. A few of the video backgrounds were nice, but again I found it hard to match exactly what I was going for and to get a cohesive style.
I adjusted the text positions, added the music, and hit create. I ended up spending less time on this video because I was getting better at the tool and because I didn't have to think about what content to use for the text. However, I had already created the storyboard as a separate step, which took me 10 minutes.
This video is the best of the 3. The content flows make more sense, for sure. However, perhaps a blended approach might be even better, using the framework of the storyboard and supporting quotes from the blog post.
However, I still don't really like the images themselves. Perhaps the way to fix this is to preselect and upload your own styled media backgrounds and then use the Lumen5 library sparingly. That would come at an additional time cost, but would make a series of videos seem more cohesive.
Time to create: 17 minutes (+ 10 minutes to create storyboard)
How much I like it: 3/5
Final Thoughts
If time is your main constraint, then using Lumen5's AI and library may be just what you need. With a few tweaks and some time choosing the right media, you can whip out a video in under 30 minutes. It may make sense to preselect and upload some of your own themed media backgrounds, or at least write down the search terms and description of media you found and liked before.
If you want more control over how it looks or better styling, then this may not be the right tool for you at all.
Lumen5 is free for the most common features, with a $49/month Pro tier available that removes the end watermark and upgrades the quality to 720p.
Pros:
- Very simple and easy to use UI that doesn't let you get bogged down in the details
- AI does a good job of starting you off with content
- Multiple options for getting content into the video - RSS, URL, or pasted text
- Large library of video, photos, icons, and music to search through
- Dynamic positioning of text based on media content
- Fast overall creation time
- Free option has few annoyances
Cons:
- Media library is vast, but of ok quality
- Hard to create a cohesive theme across scenes
- Can't easily find or reuse previous media selections.
- Can't minutely control layout and animations beyond basics
- Need to pay if you want to remove the end cap or get premium videos
In the next post,I will try another tool called Content Samurai and see if it offers any advantages.
Topics: Social Strategy and Tactics